
map description at bottom of page.
The animated image is an OLD image (GIF) of a sandstorm effect, on my old 450mhz pc with on-board video. Since this GIF was made, i've streamlined the sandstorm effect and optimized the map, eliminating the leaks that ocurred back then... AND gotten a new pc.

cstrike/maps/de_changes_2_test.bsp
cstrike/maps/de_changes_test.vmf


This map is designed to make you choose your weapons wisely.
What worked one round, might not be the best choice for the next round.
Strategies for this map must be changed from round to round, camping the same spot every round will not work, as the target bombsites will be different from round to round.
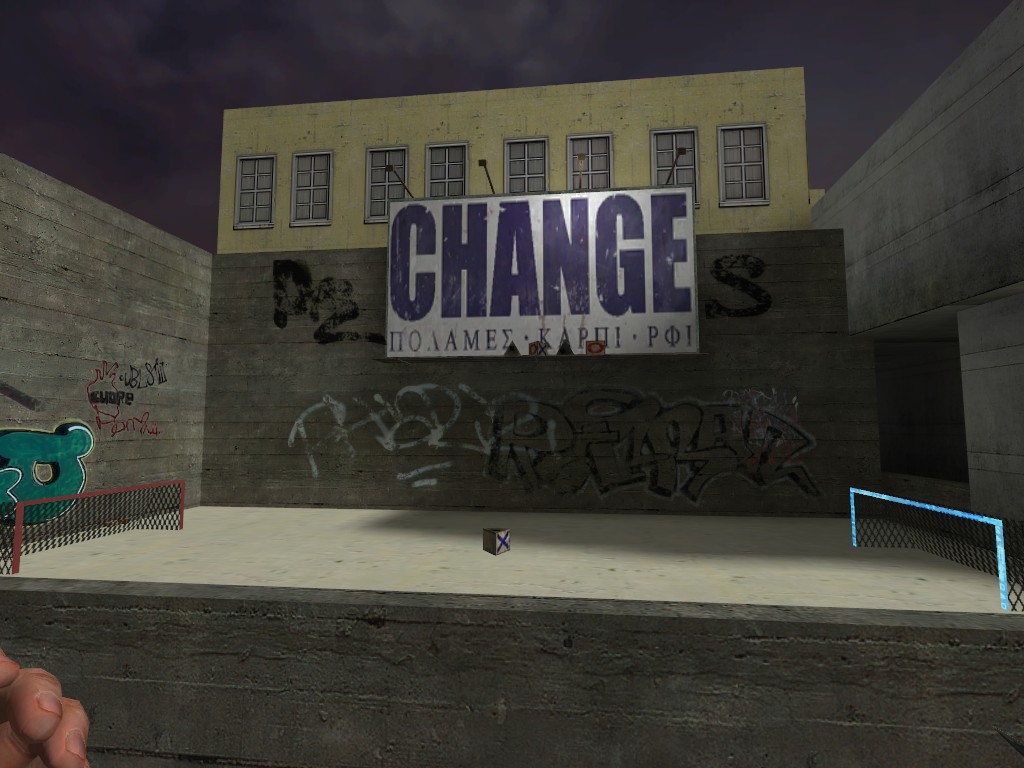
There are FOUR bombsites, of which, only TWO will be active during any round.
These two targets will be noted on a billboard at each spawn, AND console will tell you which sites are the current targets.
Finding the bombsites is REALLY easy, look at the radar, or run around the map for 15 seconds and look for the sing(s) that match the billboard at spawn(s)..
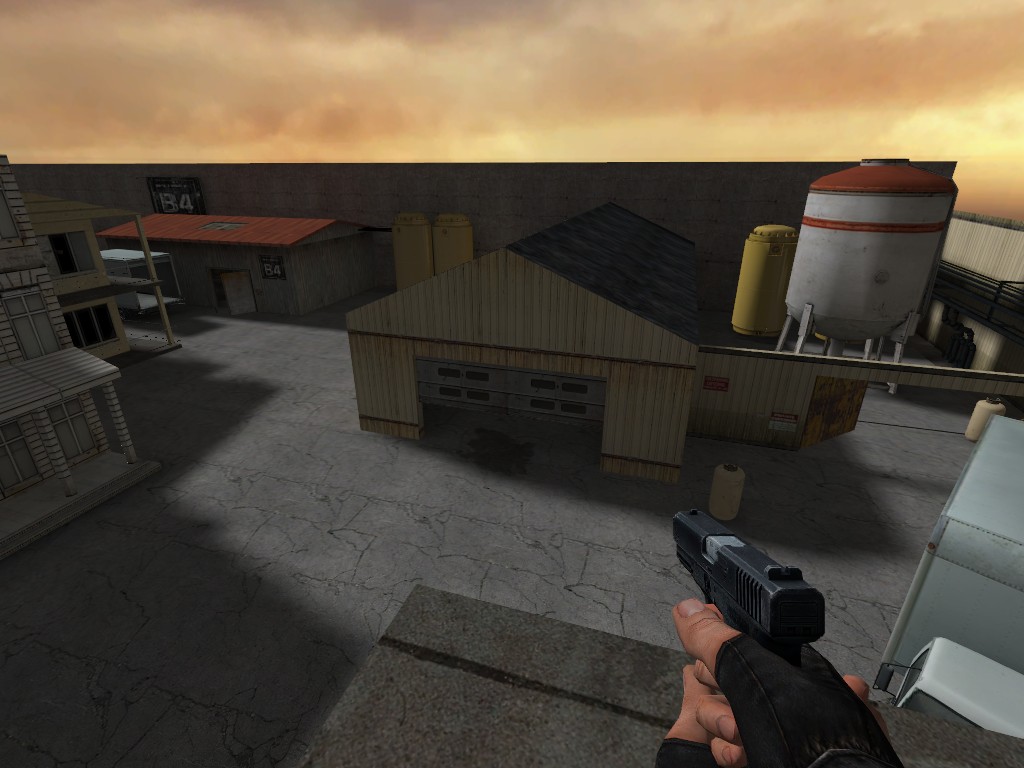
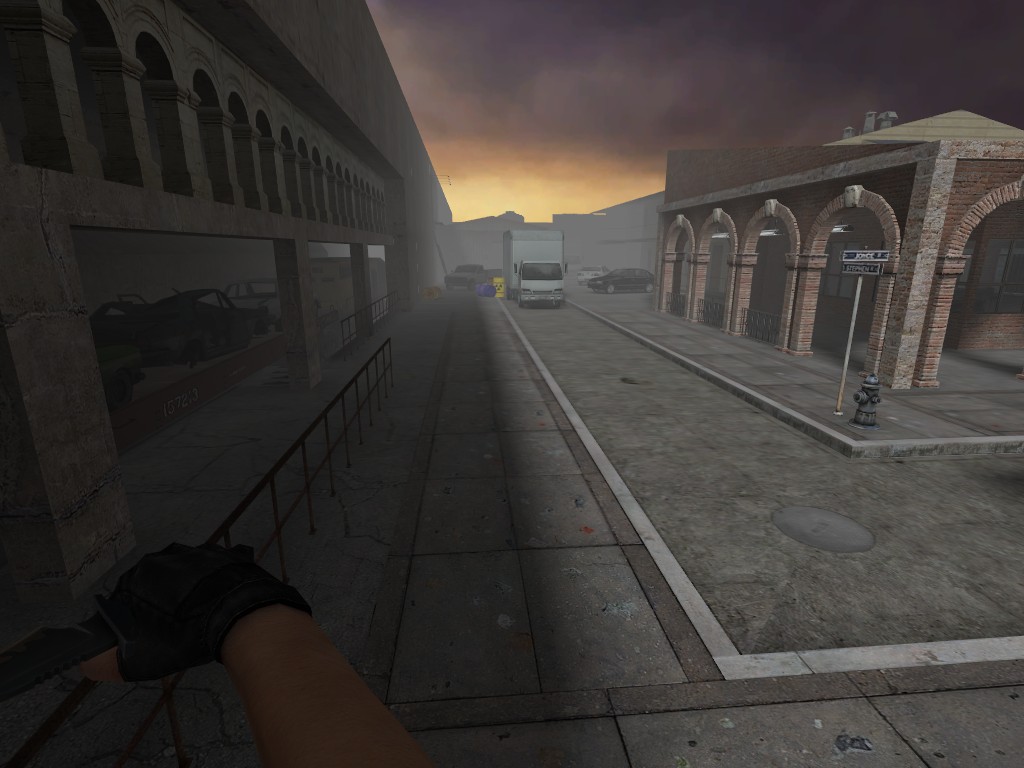
The WEATHER will change from round to round, anywhere from clear to foggy, including the famous Sand Storm.
The sandstorm starts with nearly full visibility, as the round takes longer and longer, the visibility drops off to virtually 10 feet at the 4 minute mark.
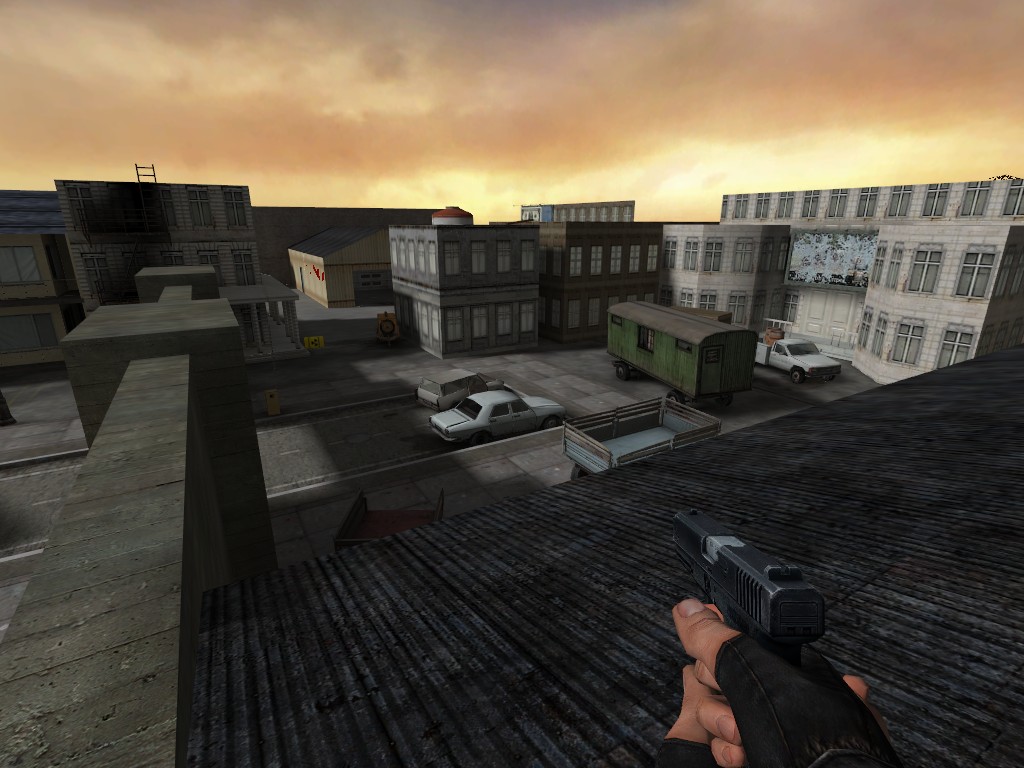
Any place you see a car in the parking lot, you can jump and climb the railing to the second floor of the motel.
You can get onto any rooftop
Doorways and gates will be opened in different positions fro each round, changing bombsite defensive strategies.
The map is small enough that learning to navigate it takes much less time than most maps.
Everyting you need to run the map is included in the BSP, NAV, TXT, Overview, etc.
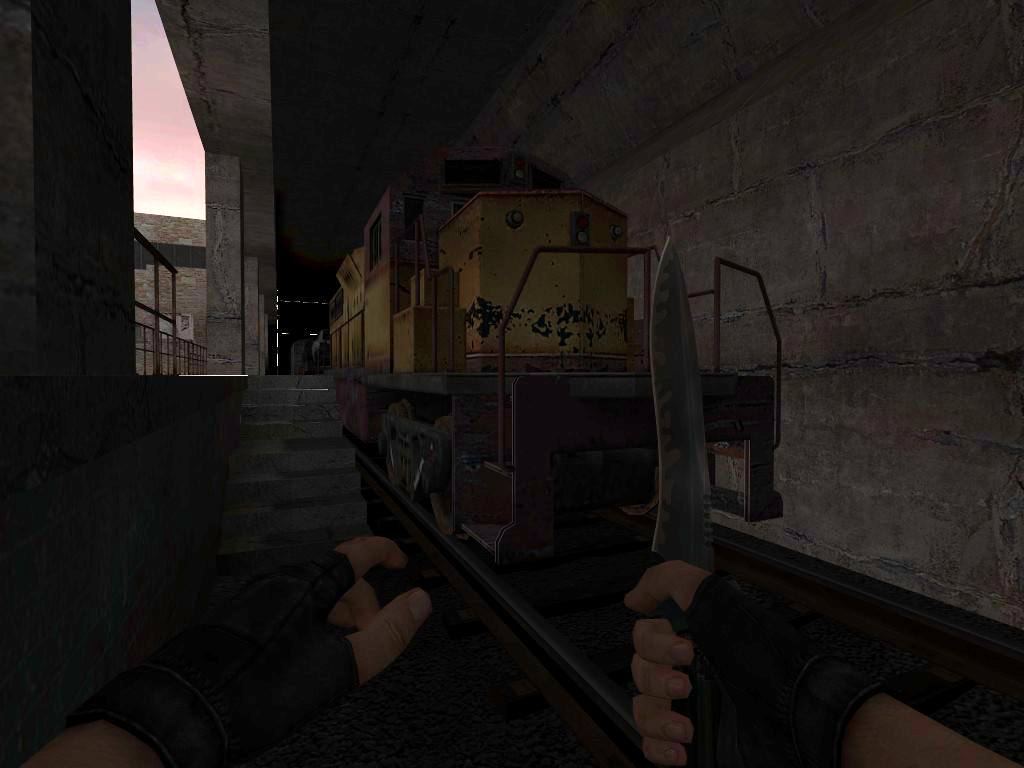
PS: When you hear the train horn blow, get off the tracks, you've been warned.